
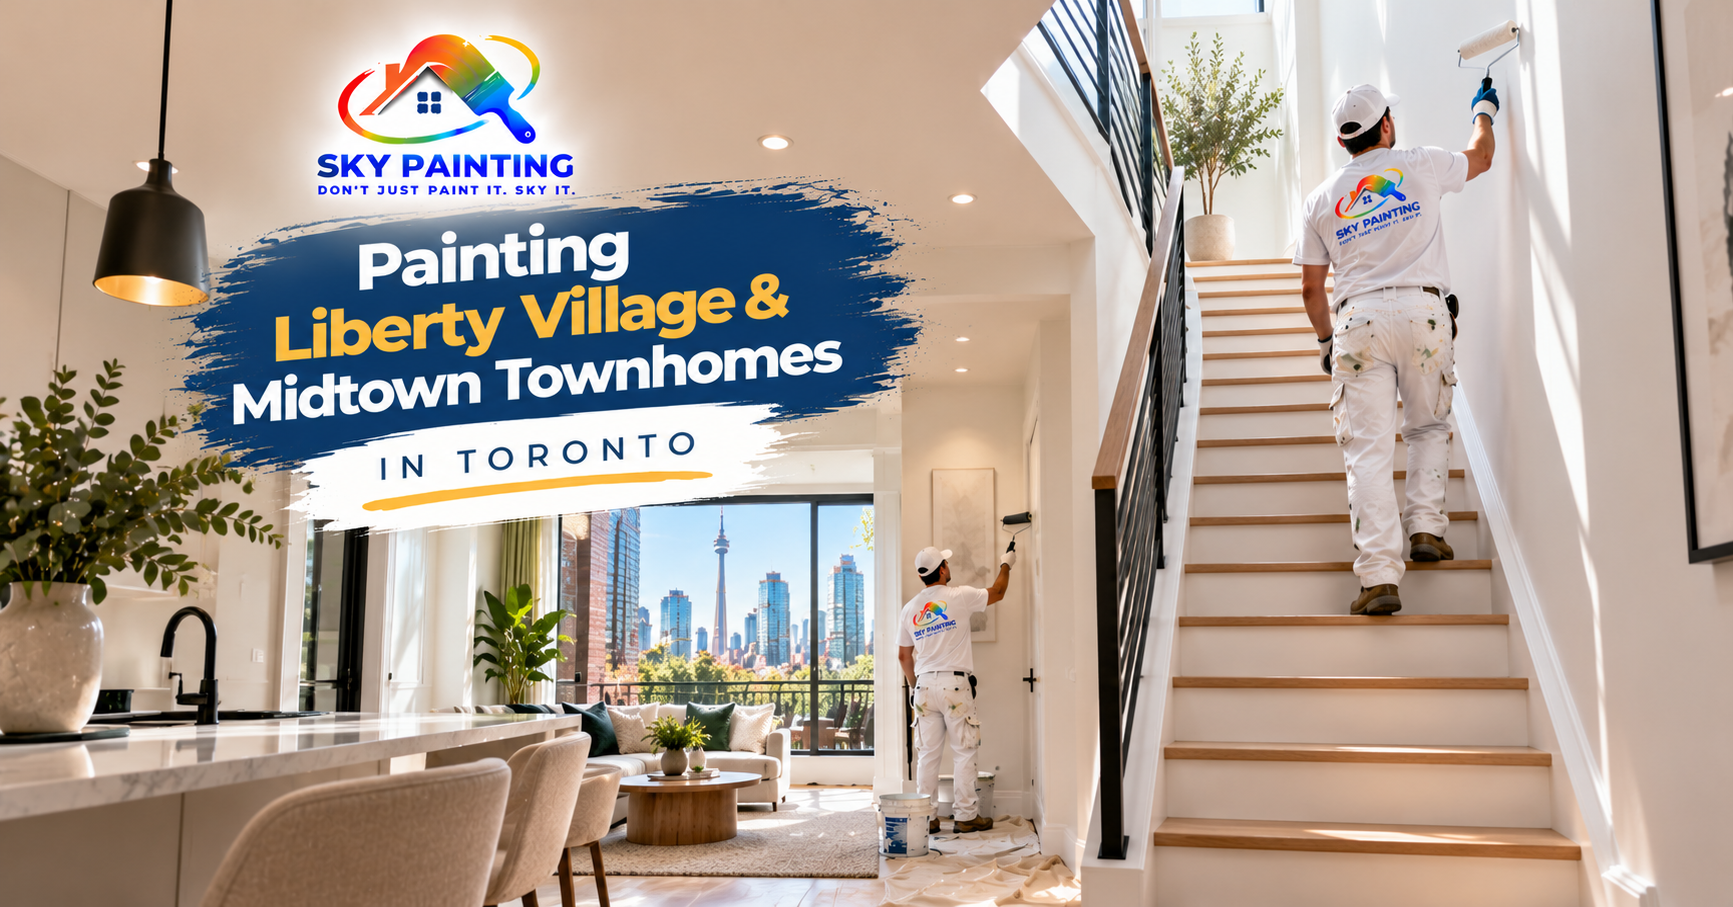
Toronto's modern townhomes — concentrated in neighbourhoods like Liberty Village, King West, Distillery District, and Midtown — share a distinctive layout: multiple floors connected by a central staircase, open-concept living areas with tall ceilings, and a floor plan that is efficient but not easy to paint. If you have tried to DIY a townhome repaint and run into the staircase, you already know why most townhome owners eventually call a professional.
Get a free written quote — no site visit needed.
Send photos of your space and Reza will send a line-by-line estimate within 24 hours. Serves Toronto and the GTA.
Start your free quote →What makes townhome painting different
Townhomes present specific challenges that do not exist in single-storey condos or bungalows:
- The staircase. In a 3-storey townhome, the staircase wall may be 25–30 feet tall at its apex. Reaching these heights safely requires the right equipment — an articulating ladder positioned on stair treads or, in some cases, scaffolding. Cutting in cleanly along a railing that runs at an angle is precision work.
- Multiple floors of trim. Baseboards, door casings, and window trim on 3–4 floors adds up to significant linear footage of detailed work.
- Open-riser staircases. Modern townhomes often have open-riser stairs (no vertical riser panel), which requires painting the stringers and each individual tread from below as well as above.
- Tight rooms. Bedrooms in a 1,400 sq ft townhome are compact. Moving equipment between floors and rooms in a narrow layout takes more time than an equivalent area of open-plan space.
- Rooftop decks. Some Liberty Village and King West townhomes have rooftop terraces with painted concrete or composite surfaces that need their own product and approach.
Planning the sequence
Painting a multi-storey townhome correctly requires working in the right order:
- Top floor first. Start at the top and work down. This prevents dust and drips from sanded repairs on upper floors from landing on freshly painted surfaces below.
- Staircase last, or phased. The staircase is the spine of the house and must remain passable throughout the project. Either paint it in sections (top half, then bottom half) or save it for the final day when the rest of the house is complete.
- Ceilings before walls. On each floor, ceiling paint goes first. Any ceiling overspray or drips hit unpainted walls and are covered when walls are done.
- Trim last. Baseboards and casings are painted after walls, with masking tape removed while the trim paint is still slightly wet.
The staircase: where the detail work happens
The staircase is typically the most expensive single element in a townhome repaint per square metre. The reasons:
- Ladder and equipment setup time at each level
- Cutting in along the angled ceiling line where it follows the stair pitch
- Painting newel posts, balusters, and handrails in a different finish than the walls
- Protecting stair treads while painting risers and stringers
A staircase that looks simple — white walls, wood rail — can easily take a full day for one painter. Do not skip this in your quote conversation.
Colour considerations for multi-storey layouts
A single wall colour throughout a townhome is the simplest and most cohesive approach, and it reads as intentional rather than lazy. The staircase makes multiple colours complicated — the transition point between colour zones in a stairwell is difficult to execute cleanly.
If you want different colours on different floors, the landing (the horizontal surface between flights) is a natural break point. Discuss the transition detail with your painter before committing to the colour scheme — some transitions work well, others create awkward stripe effects.
If you are planning a townhome repaint in Liberty Village, Midtown, King West, Distillery District, or anywhere in the GTA, submit a free online quote request with photos of your staircase and the floors involved. We include staircase access and equipment in our scope — there are no surprises. We serve Toronto and the GTA.