
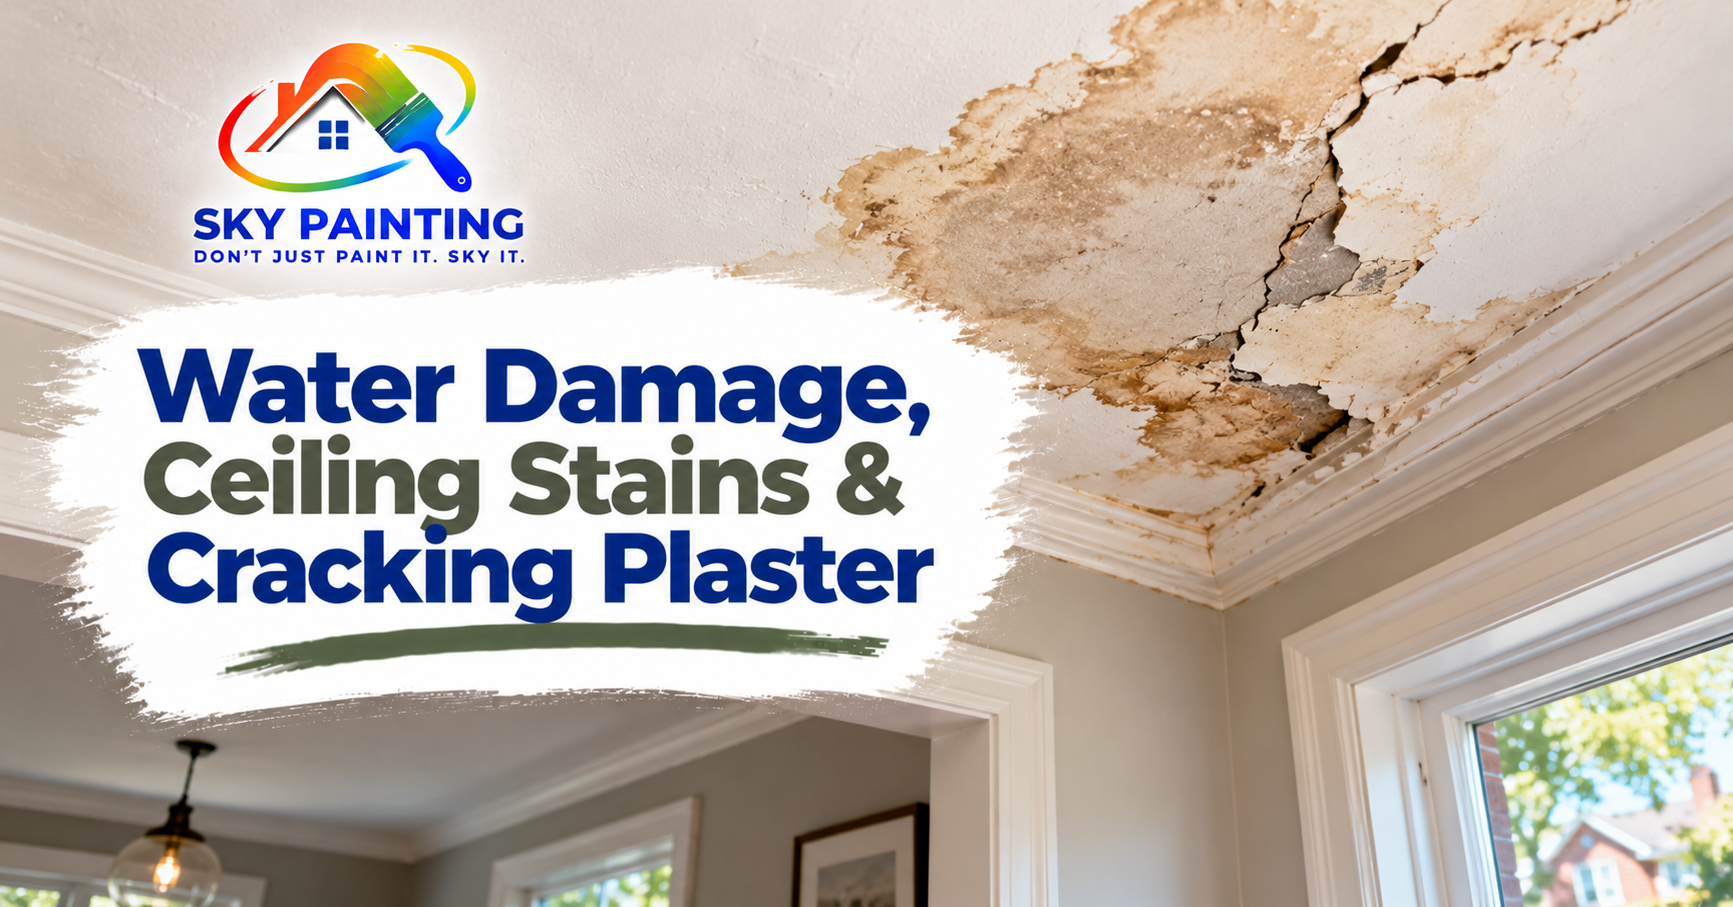
Toronto homes built before 1960 were almost universally finished with lathe-and-plaster walls. That material is durable — many plaster walls from the 1920s are still in good shape — but it is vulnerable to moisture and to the freeze-thaw cycles that characterize Ontario winters. A stained ceiling or a cracked wall is not just cosmetic. It requires understanding what caused it before deciding how to fix it.
Get a free written quote — no site visit needed.
Send photos of your space and Reza will send a line-by-line estimate within 24 hours. Serves Toronto and the GTA.
Start your free quote →First question: is the moisture source still active?
Painting over active moisture is the most common mistake homeowners make. The paint will bubble, peel, or show new staining within weeks because the underlying problem has not been addressed.
Check the damaged area by touch. If it feels soft, spongy, or damp, the source is still active. Look above — a stained ceiling directly below a bathroom, roof, or poorly sealed window frame points to a plumbing or building envelope issue. Call a plumber or roofer before any cosmetic repair begins.
Old damage that has dried fully will feel hard, even if brown or discoloured. Once you are confident the source is resolved and the material has dried — give it at least two weeks in summer, longer in winter — repair can begin.
Ceiling stains: why latex paint is not enough
Water deposits tannins and minerals into the plaster or drywall paper as it dries. These compounds are hydrophilic — they attract moisture and bleed through water-based latex paint, no matter how many coats you apply.
The solution is a shellac-based or oil-based stain-blocking primer applied before any topcoat. Zinsser BIN (shellac-based) is the most reliable option for water stains. It seals the stain completely and is ready to topcoat in 45 minutes. Apply one coat, let it dry, then follow with two coats of ceiling paint.
If you are using latex stain-blocking primers (Zinsser Bulls Eye 1-2-3, for example), be aware they work well for light stains but may not stop heavy water or smoke staining. When in doubt, use shellac.
Types of plaster cracks and how to read them
Not all cracks are the same. The pattern tells you the cause.
- Hairline cracks running vertically or horizontally — normal seasonal movement and plaster aging. Repair with joint compound, sand, prime, and paint.
- Stair-step cracks along mortar joints — foundation settling. Usually cosmetic in older Toronto homes that have already settled, but worth monitoring for growth.
- Wide cracks (5mm+) with uneven edges — the two sides of the crack are at different heights, suggesting movement. Have a contractor or structural engineer assess before patching.
- Map cracking (alligator pattern) — paint applied over paint that was never properly bonded. Strip back to bare plaster, skim coat, prime, and repaint.
How to repair plaster cracks
For hairline to medium cracks:
- Widen the crack slightly with a putty knife to give the compound something to grip
- Brush out loose material and dust
- Apply fibreglass mesh tape over the crack
- Feather joint compound over the tape in two or three thin coats, letting each dry fully
- Sand smooth with 120-grit then 220-grit
- Prime with a PVA or stain-blocking primer
- Apply two finish coats
For large damaged sections, cutting out the old plaster and patching with drywall is often faster and more durable than extensive plaster repair. A professional can blend the patch so the transition is invisible after painting.
Skim coating: when and why
Skim coating is the process of applying a very thin layer of joint compound across an entire wall surface to create a smooth, uniform finish. It is appropriate when:
- The existing plaster or drywall has widespread surface damage
- Previous layers of paint have created an uneven, bumpy texture
- You are removing wallpaper and the facing paper has torn in places
- You want a perfectly smooth wall to show paint at its best
Skim coating requires skill to apply without trowel marks or ridges. It is one of the most technically demanding parts of interior finishing.
Repair cost reference
| Repair type | Typical cost (Toronto) |
|---|---|
| Hairline crack repair and repaint (per crack) | $150 – $300 |
| Medium crack with mesh tape and joint compound | $250 – $450 |
| Water-stained ceiling patch (stain block + repaint) | $350 – $700 |
| Plaster section removal and drywall patch | $500 – $1,200 |
| Skim coat one room (walls only) | $1,500 – $3,000 |
If you have water damage, cracking plaster, or ceiling stains in your Toronto home, get a free written quote that covers both the repair and the repaint together. We work across Toronto and the GTA and include full surface prep in every project.